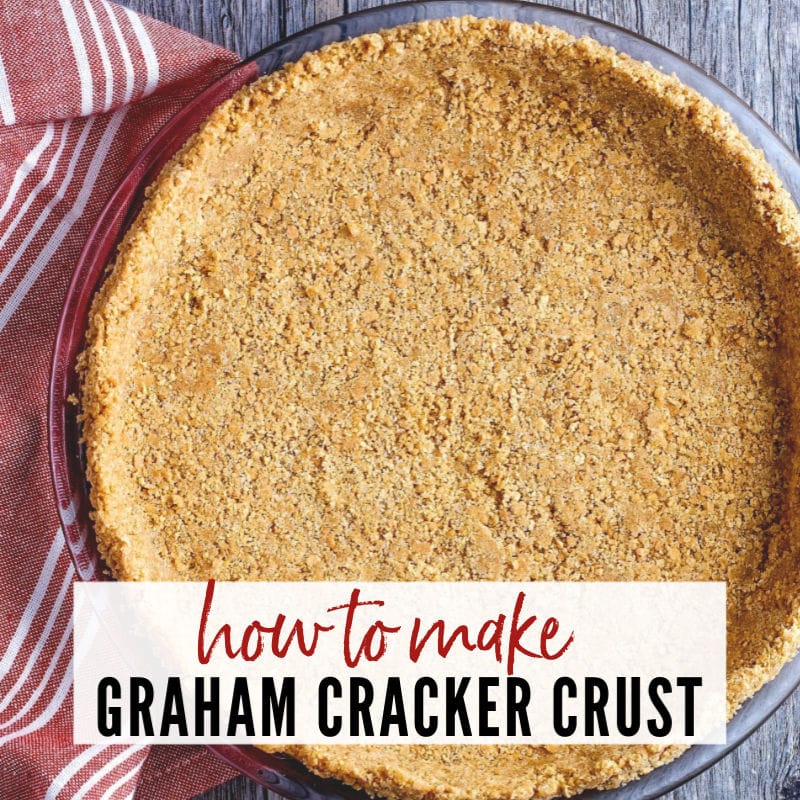
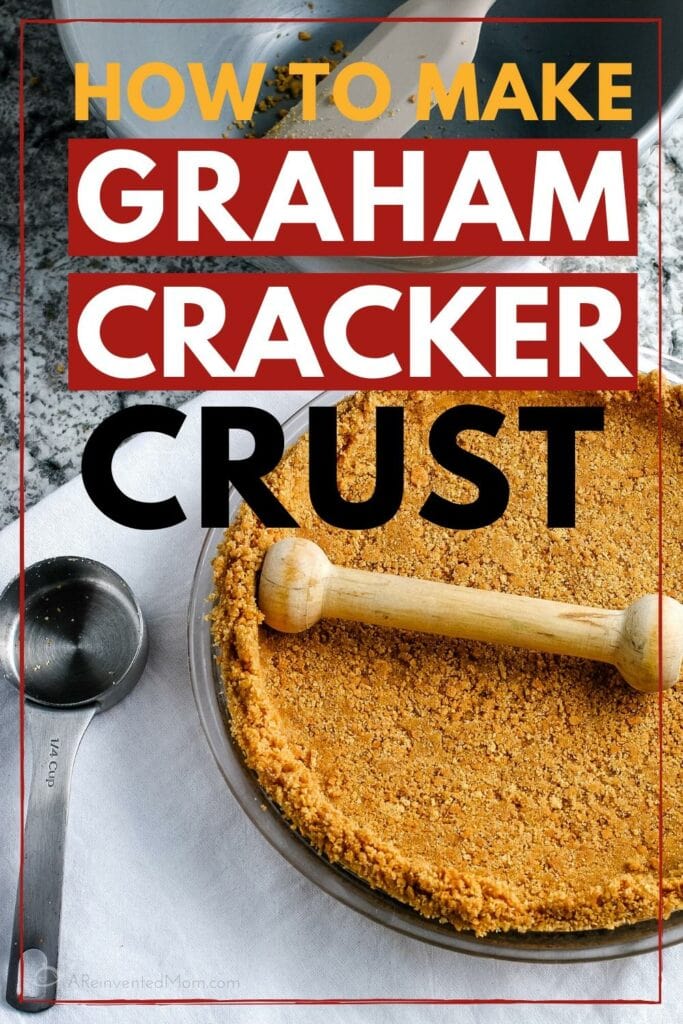
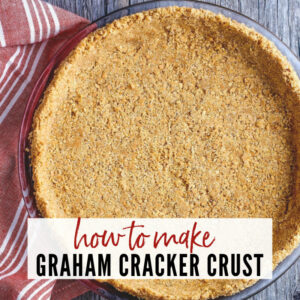
How to Make Graham Cracker Crust (No Bake or Baked)
Disclosure: This post may contain affiliate links. When you click on a link and/or make a purchase, I may be paid a small commission at no additional cost to you. Additionally, as an Amazon Associate I earn from qualifying purchases. Please read my Disclosure page for more information.
My recipe for a Graham Cracker Crust is one of the best and easiest you’ll find. I’ve been using this recipe for many years, and it’s really foolproof.
If you’ve been spending money on prepared crusts – stop now. Quit wasting your money on store bought crusts and start making this easy homemade option instead!
Enter your email & I’ll send it to your inbox. Plus, get great new recipes from me every week!
Recipe for Graham Cracker Crust
Refrigerator pies are a favorite of mine, especially in the summer months. They are incredibly easy to prepare and with about a bazillion filling and crust options you’ll want to make a pie every week.
The key to a perfect icebox pie is in the base. That means you need a simple, but delicious, crust.
For years, I’ve reached for the ingredients to make this graham cracker crust and I am excited to share the recipe with you now.
I’m also sharing my tried and true tips so you get the best results. If you don’t need the tips, scroll to the bottom for the full recipe in printable form.
Do I Have to Bake A Homemade Graham Cracker Crust?
This pie crust recipe doesn’t require baking. It’s equally delicious baked or chilled. It’s up to you, but I feel it serves best after baking.
If you decide to bake it, make sure to prepare the crust in advance. You’ll want to allow time to let your crust cool completely before you add the filling.
A hot crust will melt some fillings and make others separate. You can avoid this disaster by cooling the crust on the counter or even refrigerate it after baking. For best results, the crust should be a similar temperature as your filling.
Does This Crust Recipe Work With Other Cookies?
This is the fun part! I have used this same basic recipe with a number of different cookies. Just substitute using the same amounts and you’ll have equally good results.
The best results come from different flavors of graham crackers, shortbread, gingersnaps and Biscoff cookies.
Ultimately, my favorite choice is the graham crackers – it’s a classic that pairs well with most fillings.
How to Freeze the Pie Crust for Later
When I know I’ll be making a lot of pies, especially around holidays, I like to batch make this crust. When I do that, it means I’ll likely be freezing them to use later.
To freeze a pie crust like this for later use, you can do two different things:
- Bake, cool, then wrap and freeze.
- Prepare, wrap, freeze, then bake when needed.
Both of these options work equally well. I do prefer to bake mine before freezing so I can just thaw it and add the filling the day I want to use it. It saves time and makes my life a bit easier. That said, do whichever works best for you.
PRO TIP: Pick up some cheap or disposable pie plates at the dollar store to use when freezing the crusts. Disposable plates are safer for storing in the freezer & you can save your good pans for other recipes.
Other Uses For This Easy Crust Recipe
This crust is a great option any time a recipe calls for an easy graham cracker crust. I’ve successfully used this crust for cheesecake and bar recipes.
If you are making cheesecake, the crumb mixture can be baked in a springform pan.
When making dessert bars, I typically prepare them in a square or rectangular baking dish.
Pie Filling Suggestions
Now that you have a crust recipe to use, you need a good filling to complete your pie. My favorite is my easy no bake lemonade pie recipe.
If you want different options though, there are literally hundreds of fillings.
This crust works best with no-bake pie fillings and cheesecakes. Get creative and try different flavors to make easy last minute pies you can serve to guests in minutes.
Some favorite fillings of mine, other than the classic lemonade, are simple pudding pies. Mixing up a box of pudding & pie mix and topping it with whipped cream works great on those last minute days when you need a dessert in minutes.
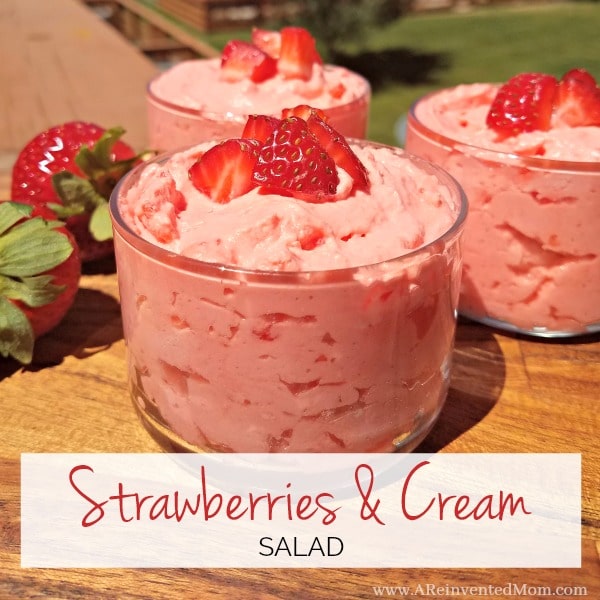
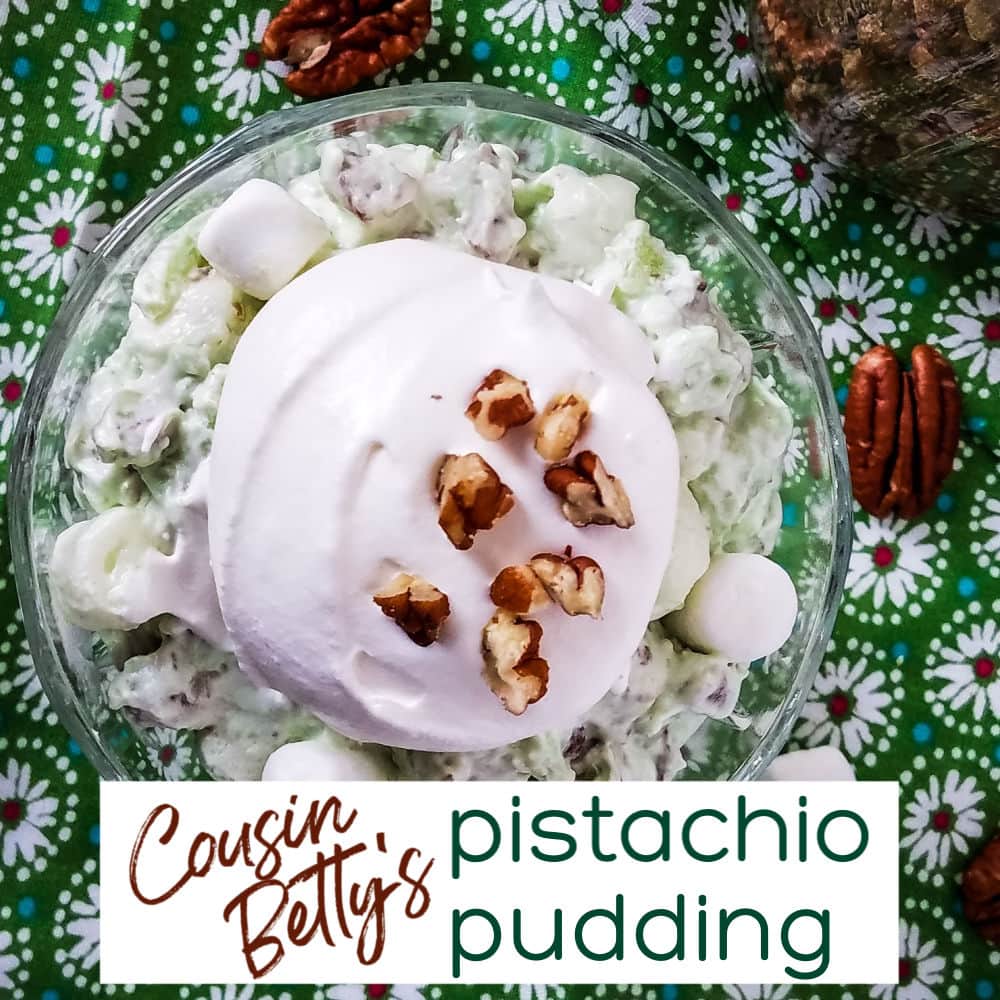
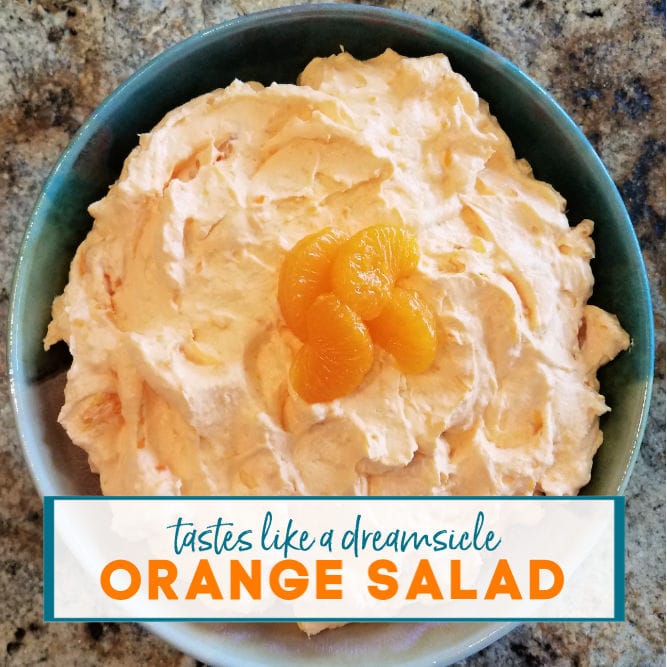
Jello salads can also make good pie fillings. While not typical pie fillings, my pistachio pudding, strawberries and cream salad, and mandarin orange salad are all options that work wonderfully in this pie crust.
How to Make a Graham Cracker Crust
- Start by crushing crackers into fine crumbs. I use the food processor for this, but you can use a blender or even by hand with a zipper bag and a rolling pin.
- Add the sugar and combine with the crumbs.
- Now, melt the butter in a microwave safe bowl and pour into the crumb mixture.
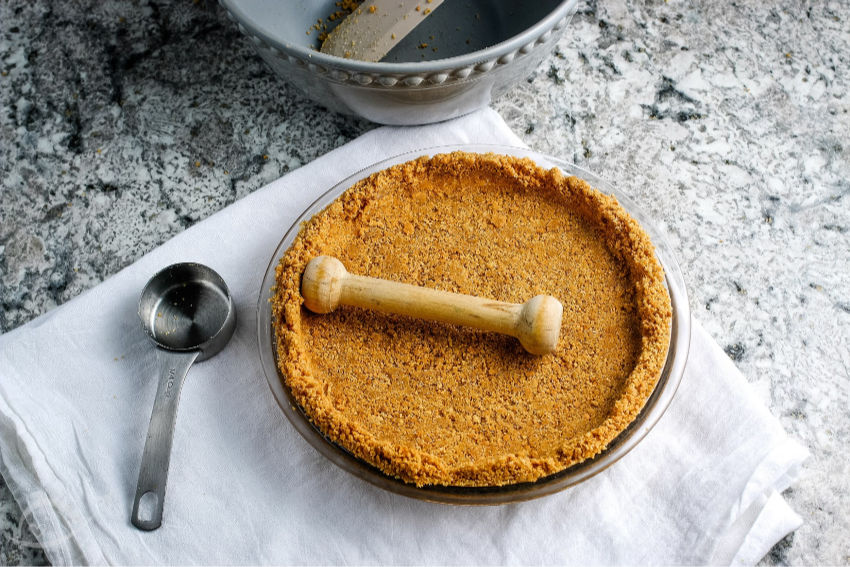
- Combine this well, then press into the bottom of a pie plate.
- Refrigerate for at least 2 hours, or bake for 8-10 minutes at 325°F. If baking, allow it to cool completely before adding with your pie filling.
Tools Needed to Make This Recipe
** Save the Graham Cracker Crust Recipe for Later**
More Posts You May Like
Graham Cracker Crust Recipe
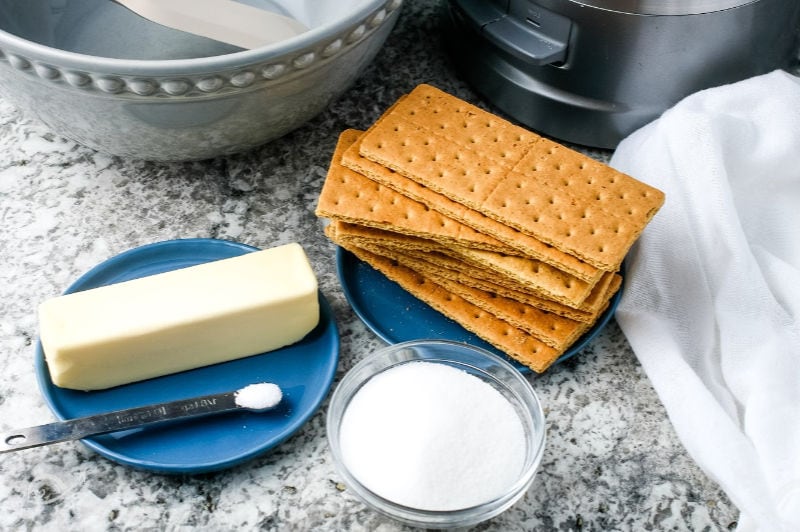
Ingredients
- 1 ½ cups graham cracker crumbs, about 11-12 sheets
- ⅓ cup granulated sugar
- ½ cup salted butter, 1 stick, melted
Instructions
- Melt butter in microwave safe bowl. Set aside to cool slightly.
- Grind the graham crackers in a food processor until fine crumbs. Alternatively, you can place the crackers in a zip top plastic bag and crush with a rolling pin.
- Place graham cracker crumbs in a medium bowl & add sugar. Stir to combine
- Add butter to graham cracker mixture and mix until well combined.
- Press mixture into pie shell or baking dish.
For a No Bake Crust
- Chill in refrigerator for at least 2 hours.
For a Baked Crust
- Preheat oven to 325 degrees.
- Bake the prepared crust for 8-10 minutes. Cool before filling the shell.
Notes
- If using unsalted butter, add 1/8 teaspoon salt.
- I recommend using real butter in this recipe.
- The crust can be made ahead. For short term, store the covered crust in the refrigerator for up to 3 days
- For longer storage, tightly wrap the prepared crust in the pan before storing in the freezer (up to 3 months). Thaw the crust before filling.
- Try these cookie & crackers for more crust options: chocolate graham crackers and shortbread, sandwich cookies, gingersnaps or Biscoff cookies.
- Nutritional information is provided for informational purposes using an online calculator. We recommend verifying this information independently.
Nutritional Estimate
Nutritional information is provided as a reference, using an online calculator. We recommend verifying the information independently for accuracy.