Layered Angel Food Cake with Berries
Disclosure: This post may contain affiliate links. When you click on a link and/or make a purchase, I may be paid a small commission at no additional cost to you. Additionally, as an Amazon Associate I earn from qualifying purchases. Please read my Disclosure page for more information.
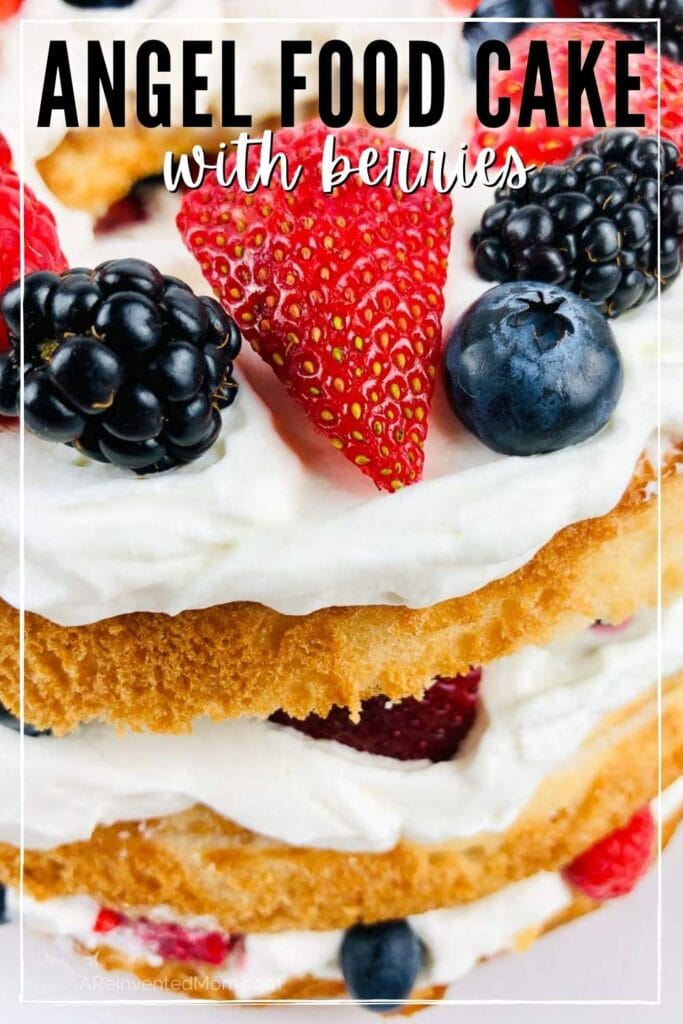
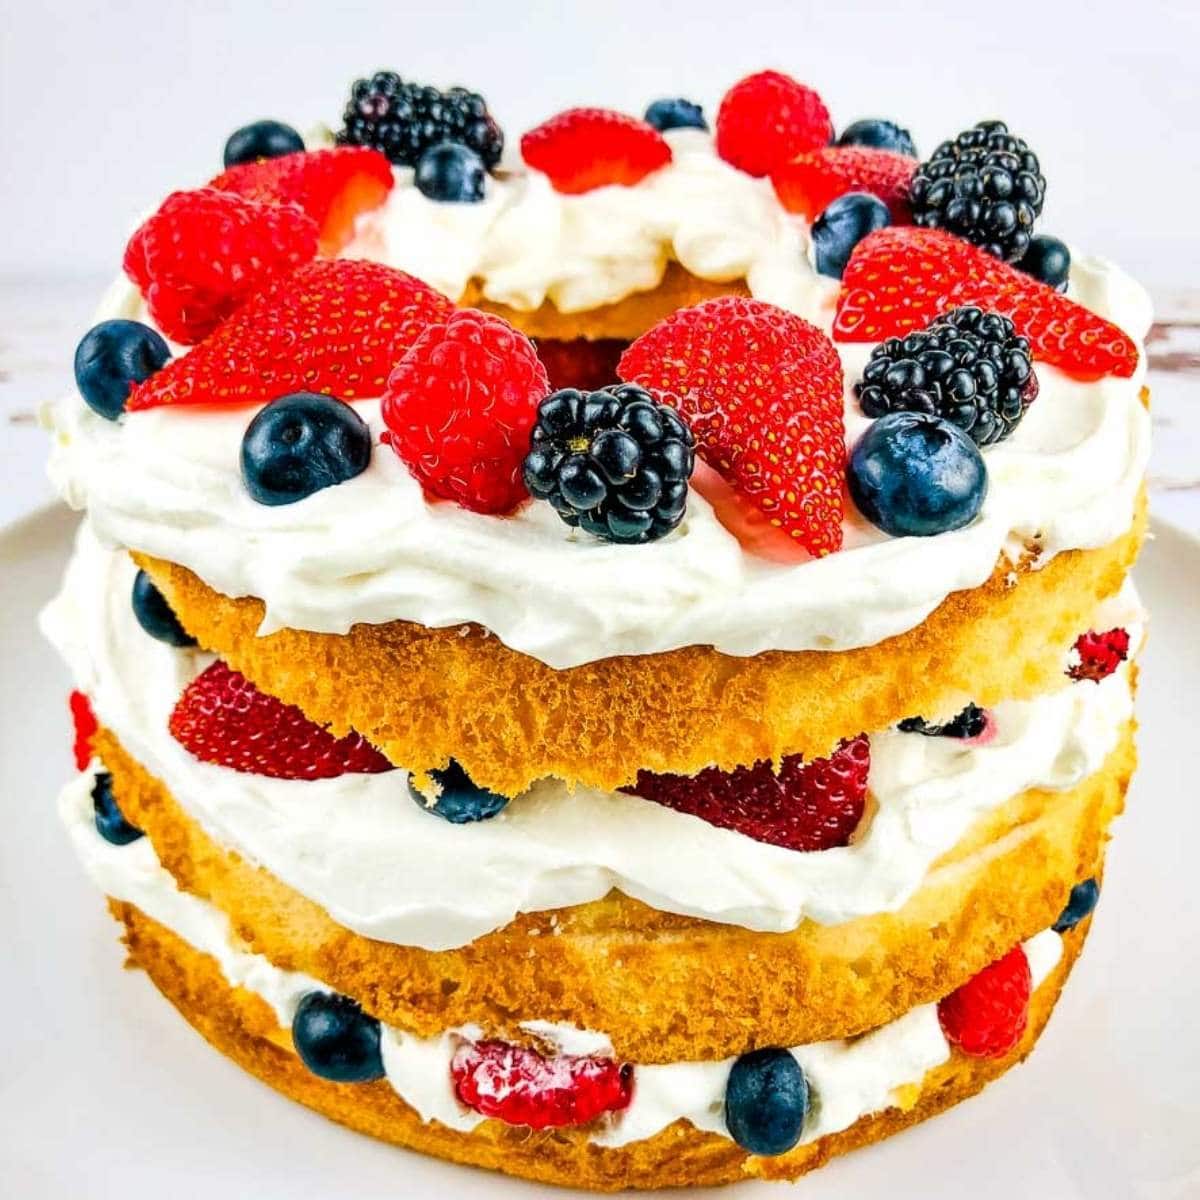
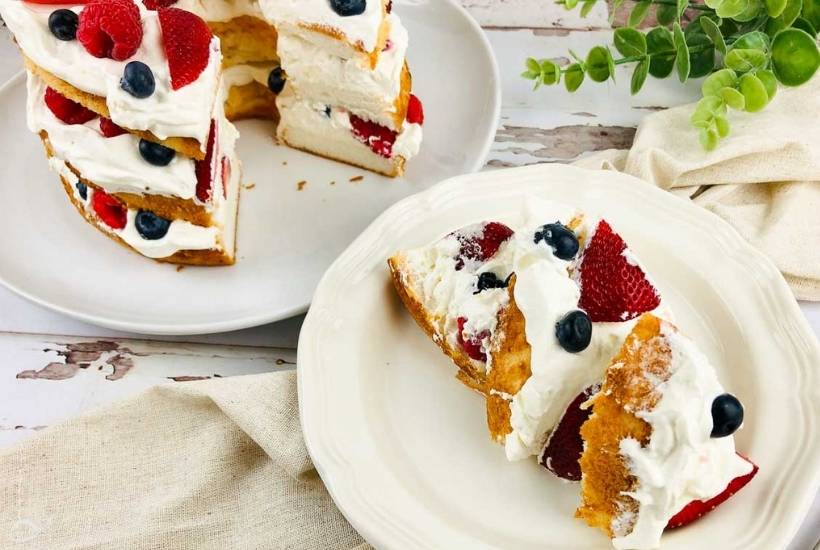
You are going to love this layered angel food cake loaded with fresh berries and whipped cream! The festive red white and blue colors are great for all your patriotic holidays and this no bake recipe is easy to prepare.
My Mom used to make this simple angel food cake with berries when I was growing up. Made with in-season berries, this lightly sweet dessert was the perfect ending to a family dinner. And it’s pretty enough no one would guess it takes just 15 minutes to prepare.
Enter your email & I’ll send it to your inbox. Plus, get great new recipes from me every week!
We’re sharing tips to help you get the best results with this recipe. If you don’t need the tips, scroll to the bottom for the full recipe and a printable recipe card.
While I love desserts, during the warmer months I prefer to have something lighter and refreshing. And if you’ve been around here for a bit you know I am a huge fan of vintage salads like creamy grape salad and Ambrosia Salad with Cool Whip. The Summer season is the best time to experiment with all these delicious fruit salads.
These are all great party recipes when you’re feeding a crowd and have other dishes to make. And most are easy to prepare and can even be made ahead of time.
If you’re thinking of making a red, white, and blue dessert for the 4th of July, check out our patriotic poke cake, red white and blue cheesecake salad and red white and blue pretzel salad. These festive desserts always disappear fast.
Why You’ll Love This Angel Food Cake Dessert Recipe
- Easy to make
- No-bake
- Light and refreshing
- Colorful
- Fluffy and delicious
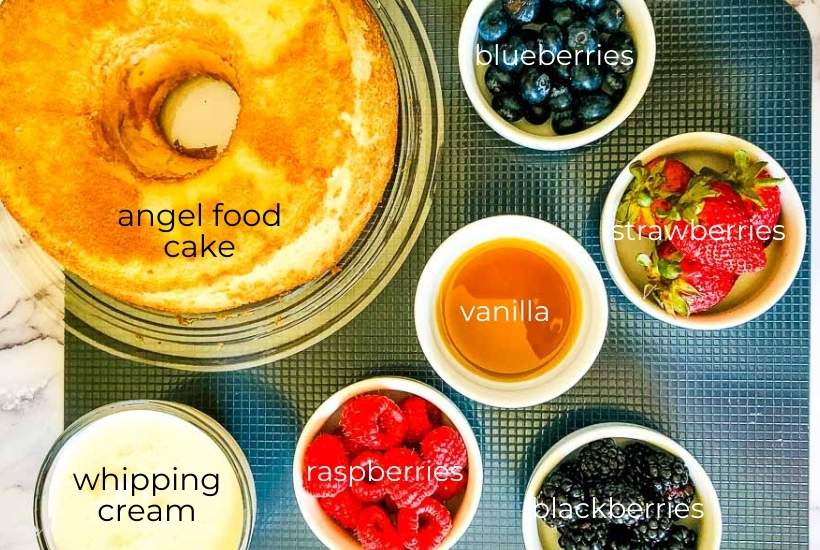
Ingredients Needed
angel food cake – using a premade cake makes this recipe super simple
heavy whipping cream – be sure to keep it cold until you are ready to use
vanilla extract
strawberries
raspberries
blueberries
blackberries
Get the complete ingredients & directions in the recipe card below.
How to Make Red, White, and Blue Layered Angel Food Cake
Freeze your mixing bowl and beaters for 15 minutes.
Rinse the fresh berries and remove any stems. Blot with paper towels until completely dry.
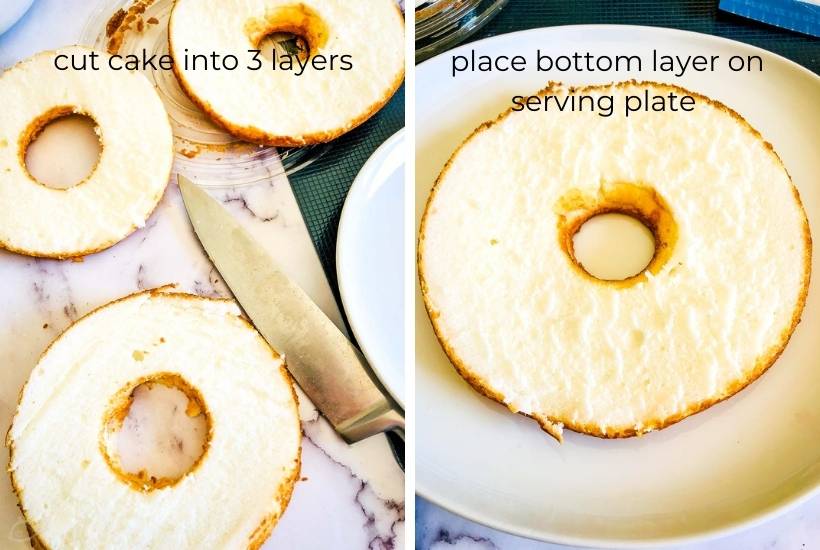
In the meantime, use a serrated knife to slice the angel food cake into 3 horizontal layers.
Take the bowl and beaters out of the freezer and pour the whipping cream and vanilla extract into the bowl.
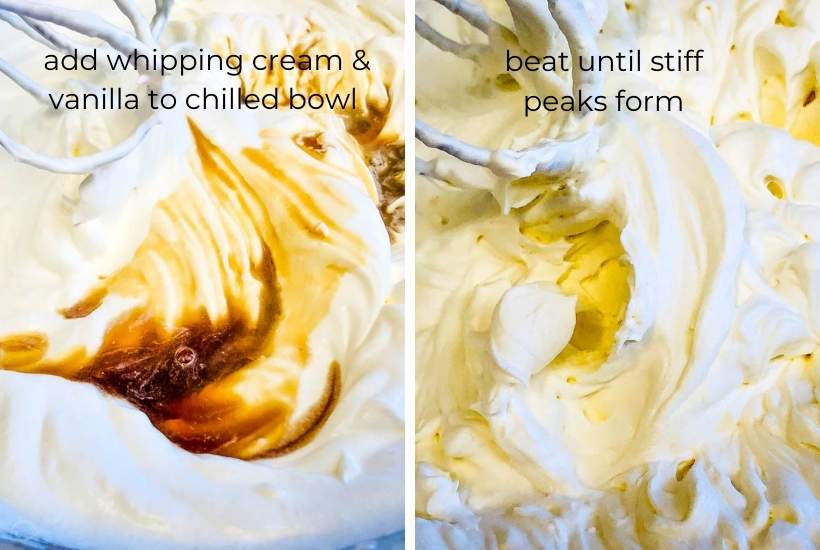
Beat on high speed using a stand or hand electric mixer until stiff peaks form and set aside.
Set the bottom cake layer on a serving platter and spread a third of the whipped cream in an even layer.
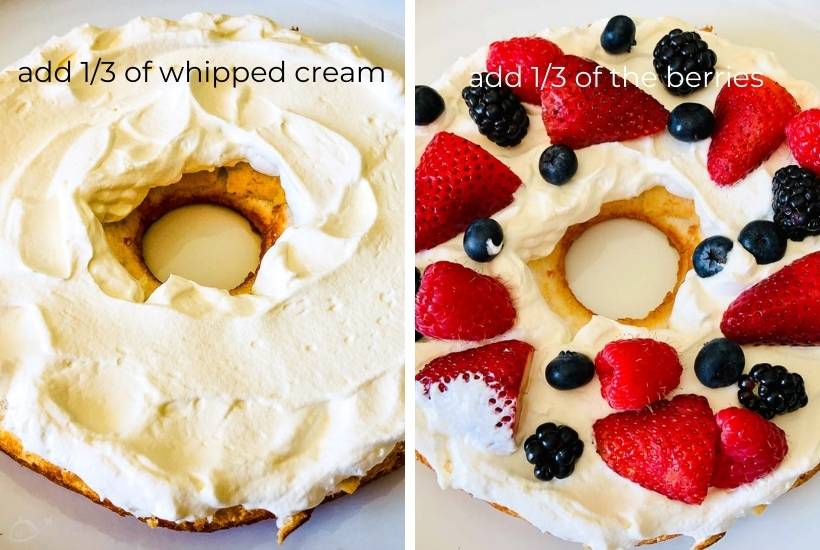
Place a third of the berries on top of the whipped topping.
Repeat the layering process with the cake, whipped cream, and berries.
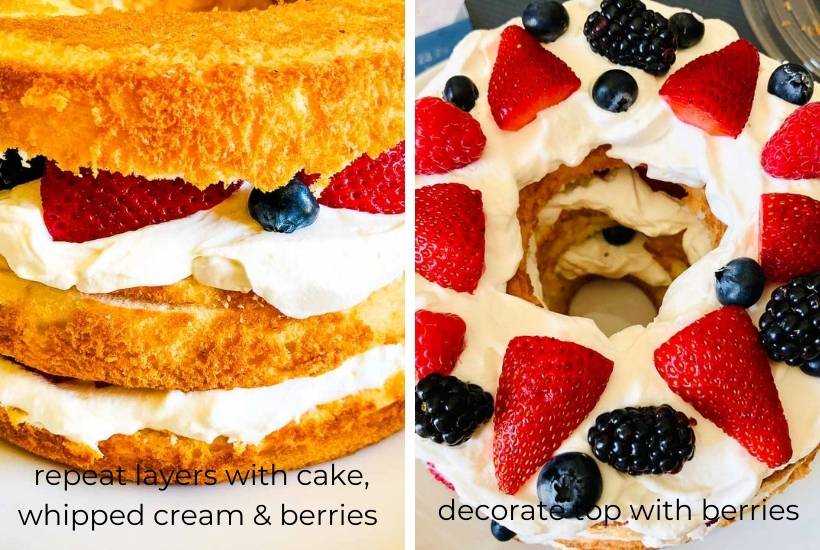
Cover loosely and chill until you are ready to serve.
Tips for Making
- Keeping the mixing bowl and beaters in the freezer helps the whipped cream set up, so don’t skip this step.
- For a sweeter whipped cream, pour in a few tablespoons of powdered sugar before beating the cream and vanilla together.
- If you don’t want to make homemade whipped cream, swap it for Cool Whip whipped topping.
- You can use a homemade recipe for the angel food cake instead of using a store-bought cake.
What Are Stiff Peaks?
When you are combining the heavy cream and vanilla, you are making homemade whipped cream. As you mix the ingredients together at a high speed, the mixture begins to change consistency.
You want to keep mixing so that when you turn the mixer off and lift the beaters up, the “peaks” of cream stand without falling.
Be careful to not overmix it because the mixture will “break”, making it unusable. And then you’ll have to start over and make a new batch.
Can I Make the Whipped Cream By Hand?
You can but I don’t recommend it. It takes a lot more time and muscle and your arm is going to feel like it wants to fall off from all the whipping action.
Trust me, it’s easier to use a mixer to get the right consistency.
How to Cut Angel Food Cake in Layers
Place one hand on top of the cake and use a serrated knife to gently slice the cake horizontally. Remove the top layer and repeat with the lower layer.
While I typically eyeball where I’m cutting, you can mark the cake layers with toothpicks inserted around the cake as a cutting guide for even layers if preferred.
Can I Use Frozen Berries?
Fresh berries work best in this recipe. Frozen berries, after they’ve thawed, give off a lot of juice which will leak into the cream. And that makes for a muddied looking cream which isn’t pretty to look at.
Can I Make Angel Food Cake with Berries Ahead of Time?
This dish is best eaten the day it is made and doesn’t store well after you’ve added the whipped cream and berries.
If you do need to make ahead, you can prepare the whipped cream a few hours ahead and refrigerate until ready to use. Additionally, you can prep the berries and store in the frig. Then all you need to do is assemble the cake when you’re ready to serve.
More Patriotic Recipes For the Holidays:
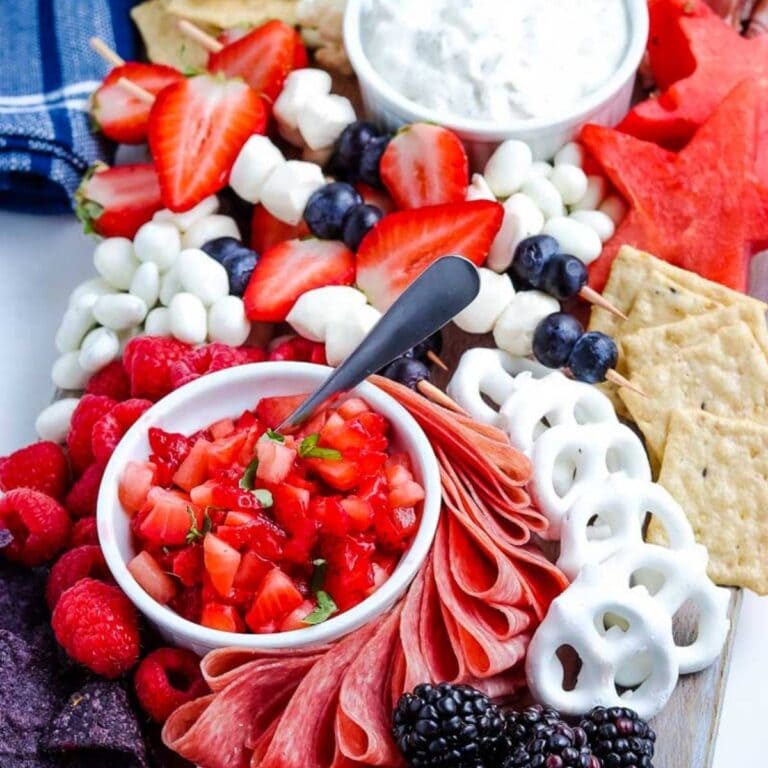
- Red White and Blue Charcuterie Board (Desserts)
- Red White and Blue Oreo Balls
- 4th of July Snack Board
- Easy Make Ahead Recipes for Fourth of July
**Save Layered Angel Food Cake Recipe for Later**
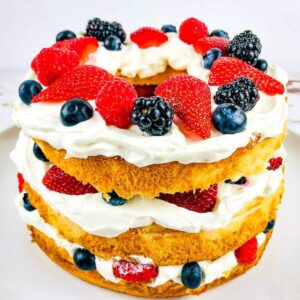
Layered Angel Food Cake with Fresh Berries
Ingredients
- 1 pre-made angel food cake
- 2 cups heavy whipping cream, chilled
- 2 teaspoons vanilla
- 1 cup fresh strawberries, cut in half lengthwise
- ½ cup fresh raspberries
- ½ cup fresh blueberries
- ½ cup fresh blackberries
Instructions
- Place the mixing bowl and beaters in the freezer for 15 minutes.
- Prep the berries by rinsing and patting dry with paper towels. Cut strawberries in half & remove stems. Set aside.
- Using a serrated knife, cut the angel food cake horizontally into 3 layers.
- Remove the mixing bowl and beaters from the freezer. Place the whipping cream and vanilla in the chilled bowl and whip on High speed until stiff peaks form. Set aside.
- Place the bottom cake layer on a platter and spoon ⅓ of the whipped cream evenly around the cake layer. Add a third of each berry on top of the whipped cream.
- Continue with remaining cake layers, whipped cream and berries.
- Cover loosely and refrigerate until ready to serve.
Notes
- Don’t skip chilling the mixing bowl & beaters – it helps the whipped cream set up.
- Add a couple Tablespoons of confectioners sugar for a sweeter whipped cream.
- Substitute whipped topping for the freshly whipped cream if preferred.
- This cake is best eaten the day it is made.
Nutritional Estimate
Nutritional information is provided as a reference, using an online calculator. We recommend verifying the information independently for accuracy.
