Disclosure: This post may contain affiliate links. Please read my Disclosure page for more information.
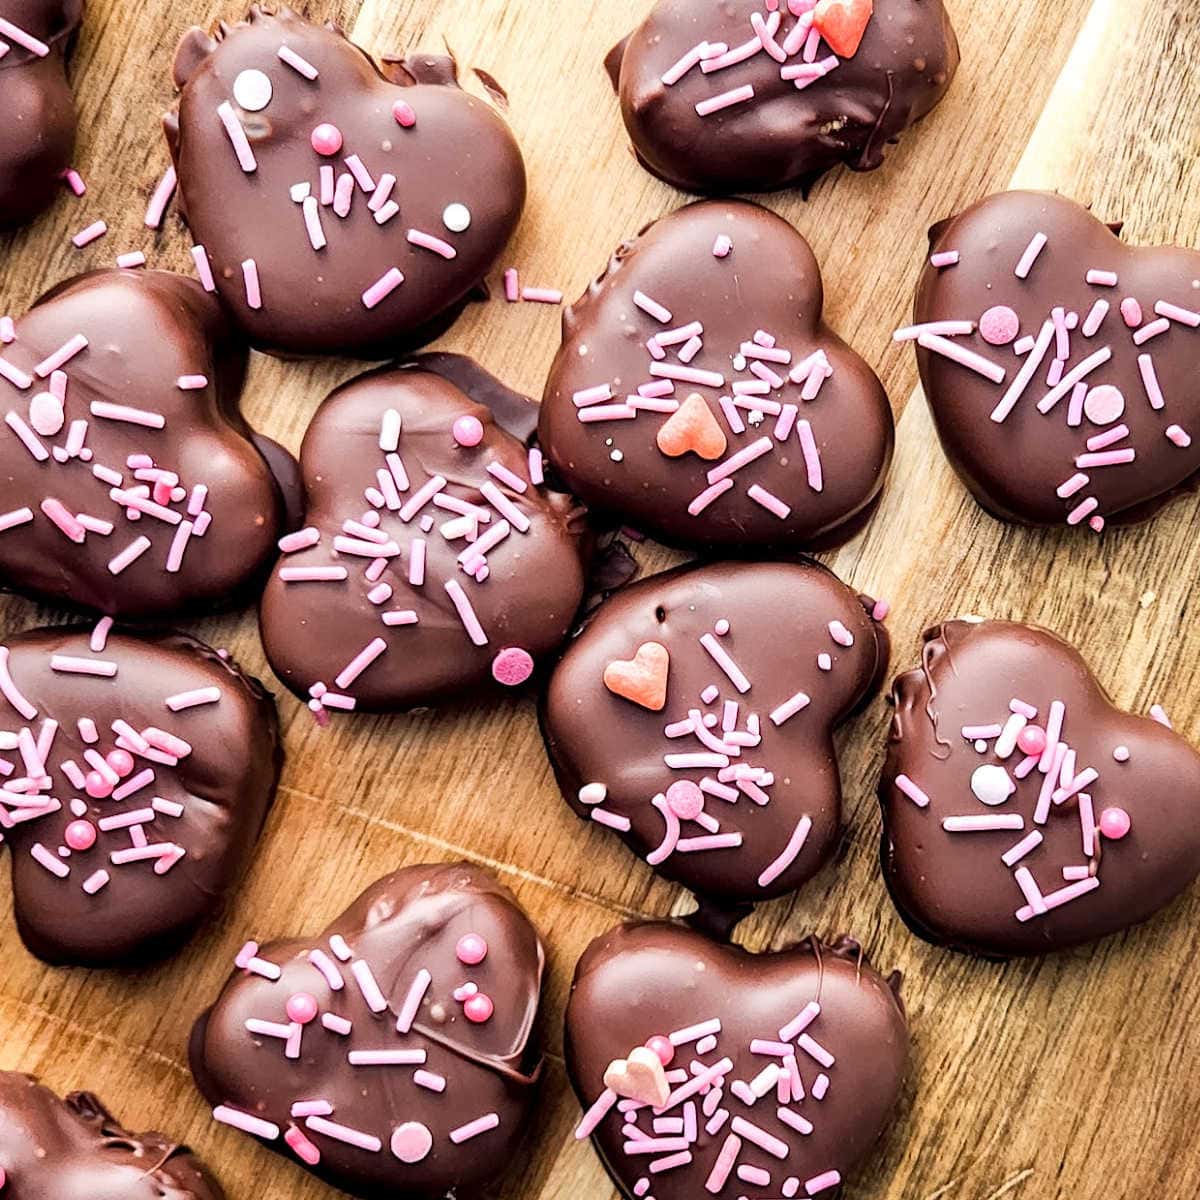
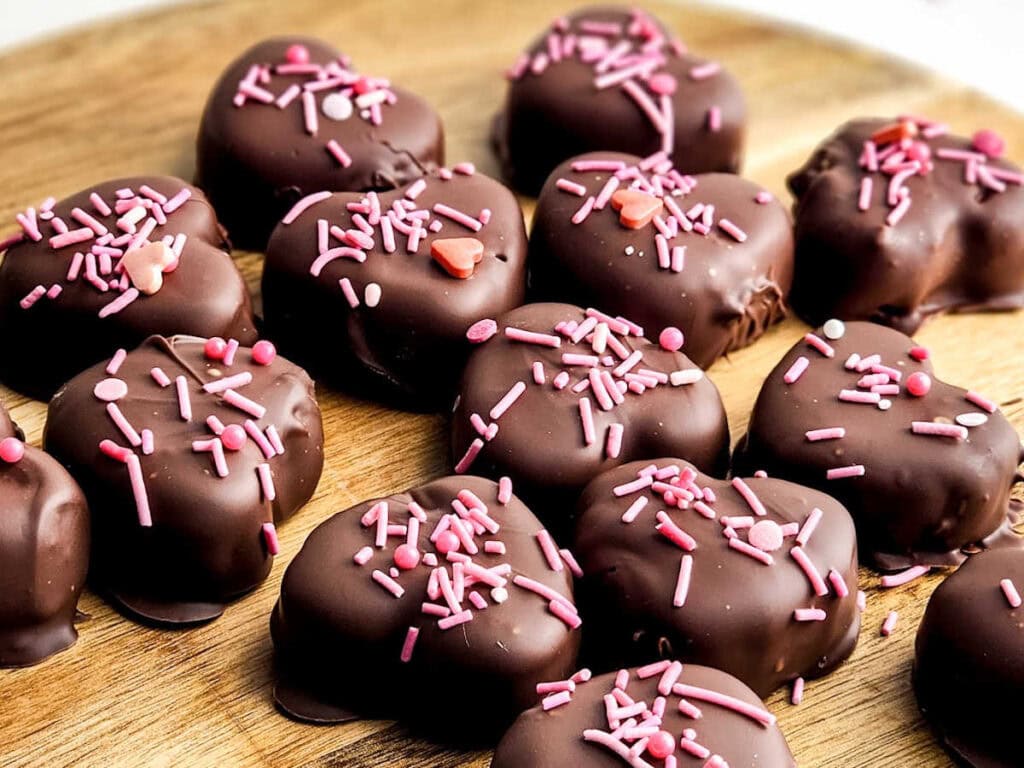
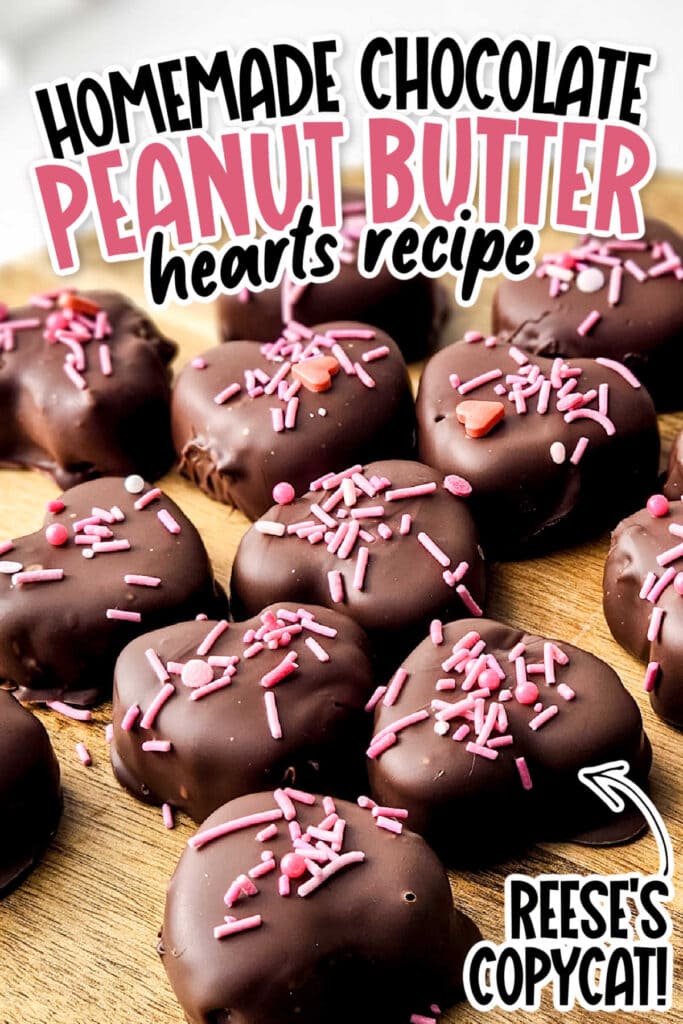
Our Homemade Chocolate Peanut Butter Hearts are the ultimate treat for Valentine’s Day, Galentine’s gatherings, class parties or “just because”. This Reese’s copycat recipe features a heart-shaped creamy peanut butter filling wrapped in a decadent chocolate coating.
Making a batch of these delectable sweets from scratch is a fun way to show your love. They’re rich, creamy, and oh-so-chocolatey, with just the right amount of sweetness.
Be sure to read to the end for some fun ways to package these sweet treats for a tasty gift from your kitchen.

We’re sharing tips to help you get the best results with this recipe. If you don’t need the tips, scroll to the bottom for the full recipe and a printable recipe card.
But the best part is how easy it is to make these fun heart shaped treats at home. The no-bake recipe is made with ingredients you probably already have on hand and takes less than an hour to make. Easy peasy! And we think it tastes better than the store bought version.
Whether you’re gifting these to someone special or keeping them for yourself (no judgment!), this recipe is bound to become a favorite. The rich chocolate paired with the creamy peanut butter filling is hard to resist – each bite has the perfect balance of sweetness and saltiness.
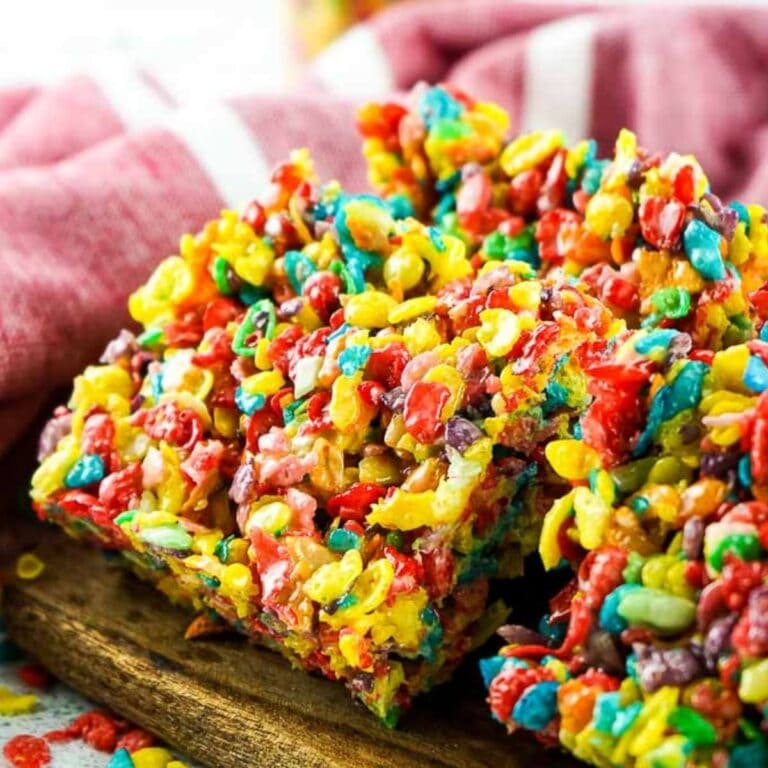
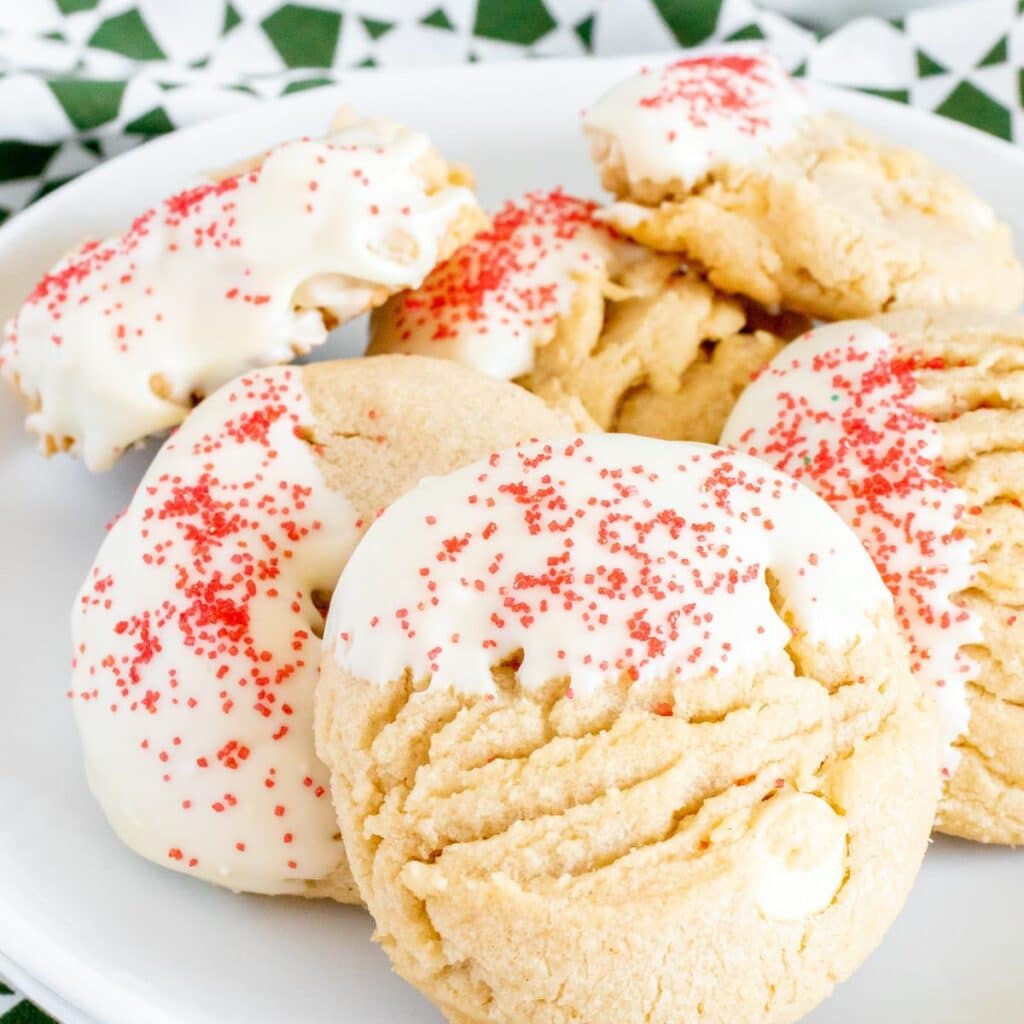
If you’re looking for more Valentine treats try our heart hand pies, heart shaped Rice Krispie treats and heart cakesicles.
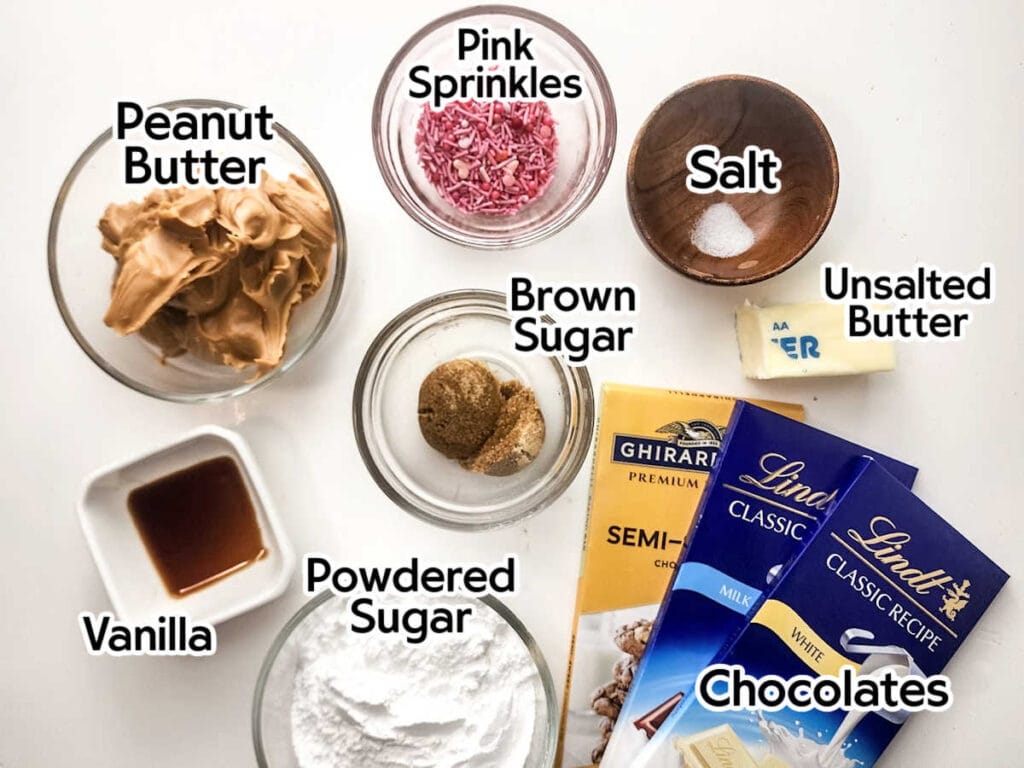
Chocolate Peanut Butter Hearts Ingredients
- Peanut butter – for a creamy base
- Unsalted butter – make sure you soften it before starting
- Brown sugar – adds a touch of sweetness
- Salt – helps to balance the flavors
- Powdered sugar – helps to firm the filling and hold its shape
- Vanilla extract – rounds out the sweetness
- Semi-sweet chocolate – to balance the sweetness of the filling
- Milk chocolate – provides a sweet coating that pairs perfectly with the peanut butter filling
- Valentine’s Day or pink sprinkles – for a festive touch
Get the complete ingredients & directions in the recipe card below.
How to Make Chocolate Covered Peanut Butter Hearts
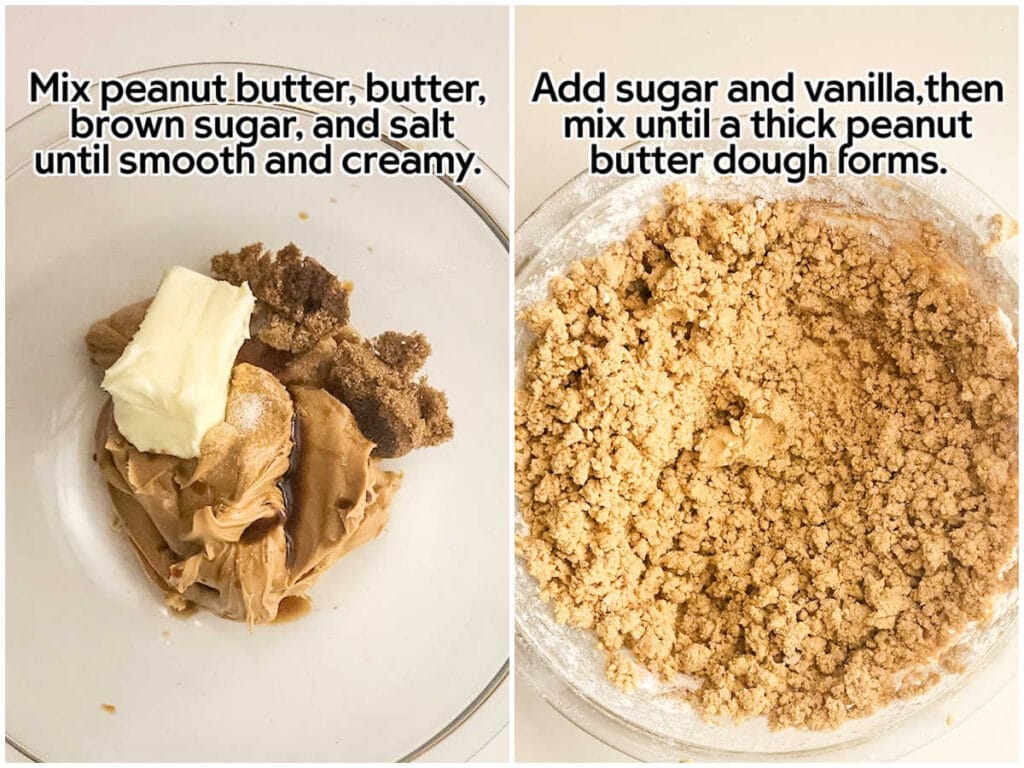
Combine the peanut butter, butter, brown sugar, and salt in a mixing bowl. Using a hand mixer, mix everything until it’s smooth and creamy.
Next, add the powdered sugar and vanilla extract. Stir until it all comes together into a thick peanut butter dough.
Scoop a generous tablespoon of the filling mixture into each section of your heart-shaped silicone mold. Press it down, adding more if needed, to fill each section completely. Pop the mold into the freezer for about 20 minutes to firm up.
While the hearts chill, melt the semisweet and milk chocolate bars. Use a double boiler or microwave in 30-second increments, stirring until smooth. Set up a dipping station with the melted chocolate, sprinkles, and a baking sheet lined with parchment paper.
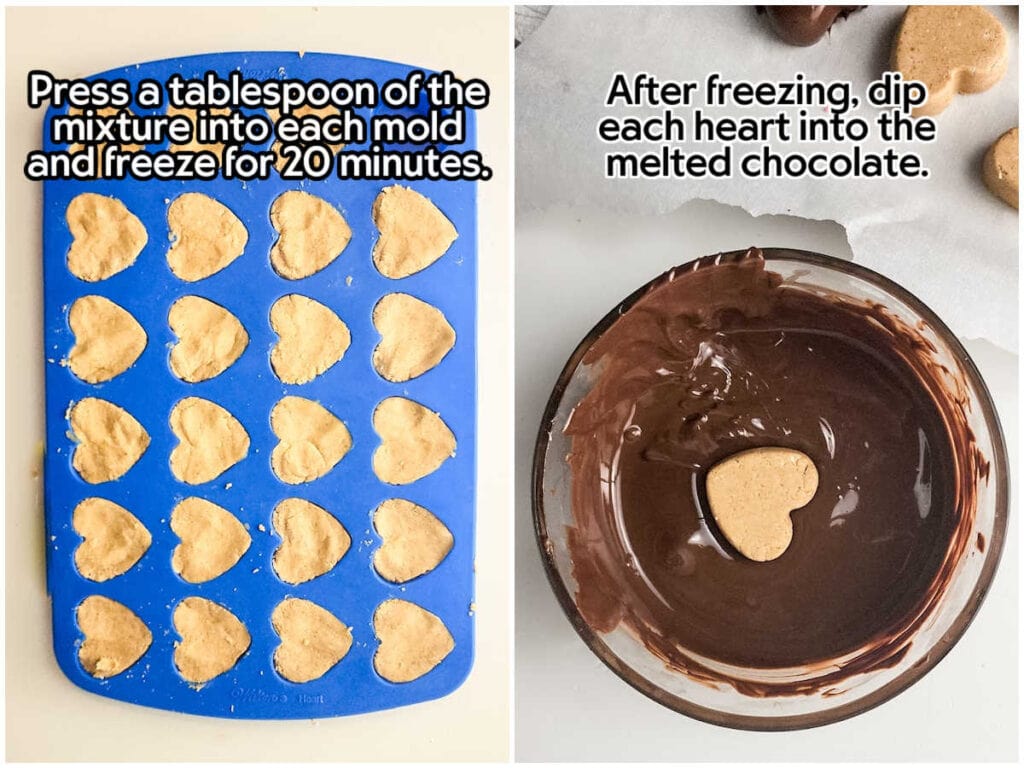
Pop the hearts out of the mold and place them on the baking sheet. One by one, dip each heart into the melted chocolate, covering it fully. Use a chocolate dipping tool or fork to lift it out, tapping the fork gently on the bowl’s edge to remove excess chocolate.
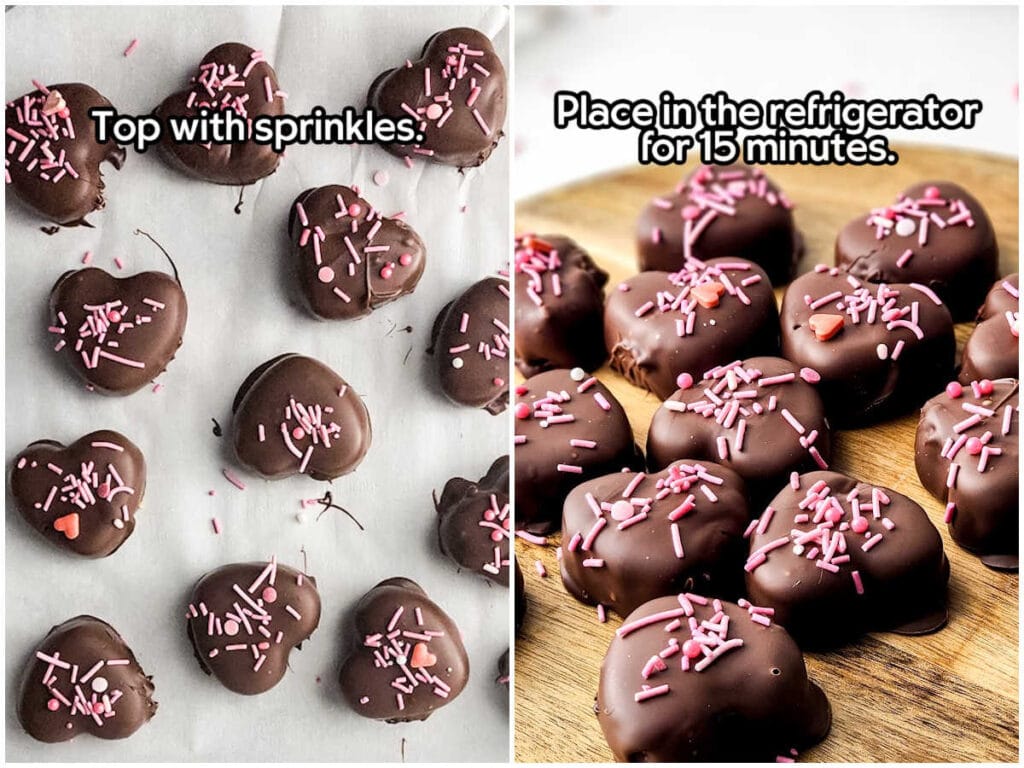
Place the dipped heart back on the parchment and sprinkle on the decorations while the chocolate is still wet. Repeat with the rest of the hearts.
Chill the chocolate coated hearts in the fridge for 15 minutes to set.
Tips for Making Homemade Reese’s Peanut Butter Hearts
- Use room temperature ingredients for smoother mixing.
- If your chocolate coating is too thick, stir in a bit of melted coconut oil for a silkier texture.
- Work quickly when dipping to prevent the chocolate from hardening.
- Avoid discoloration of the chocolate by storing the chocolate covered hearts out of direct light.
Recipe Substitutions and Variations
- You can also swap white or dark chocolate for the milk chocolate.
- Adapting for other holidays: switch up the molds to create fun designs for Easter or Christmas. Add holiday-themed sprinkles for a finishing touch.
Can I make homemade peanut butter hearts ahead of time?
Yes! Because they store so well, you can make them a couple days before serving.
How to Store Chocolate Peanut Butter Hearts
Store your homemade chocolate candies in an airtight container. They’ll keep for up to a week at room temperature, two weeks in the refrigerator or a month in the freezer. If you’re stacking the hearts be sure to place a piece of parchment paper in between the layers to prevent sticking.
How to Package Chocolate Hearts for Gift Giving
Homemade chocolate hearts make for a cute and tasty gift. Here are a few ideas for a fun presentation:
- The container: Mason jars and themed decorative tins are always a fun way to package edible treats. Or use cellophane bags tied with a themed ribbon for a more economical idea.
- Tags and personalization: it’s always a good idea to add a personal touch with a decorative tag or handwritten note. Or use these printable Valentine’s candy cards for a cute touch.
- For a fancier presentation: place crinkled paper in the container before adding the hearts.
More Peanut Butter Treat Recipes
Enter your email & I’ll send it to your inbox. Plus, get great new recipes from me every week!

Homemade Chocolate Peanut Butter Hearts
Equipment
- Double boiler optional
- chocolate dipping tool optional
Ingredients
- 1 cup creamy peanut butter
- ¼ cup unsalted butter, softened
- 2 tablespoons brown sugar, lightly packed
- ¼ teaspoon salt
- 2 cups powdered sugar
- 1 teaspoon vanilla extract
- 8 ounces semi sweet chocolate, melted
- 4 ounces milk chocolate, melted
- Valentine’s themed sprinkles, (or pink sprinkles)
Instructions
- Place the peanut butter, butter, brown sugar and salt in a mixing bowl and blend together with a hand mixer until smooth and creamy.1 cup creamy peanut butter, ¼ cup unsalted butter, 2 tablespoons brown sugar, ¼ teaspoon salt
- Add the powdered sugar and vanilla extract. Mix until it’s thoroughly combined and a thick peanut butter dough has formed.2 cups powdered sugar, 1 teaspoon vanilla extract
- Press a large tablespoonful of the peanut butter mixture into each section of the heart mold. You may need to add a little more to fill each slot to the top.
- Place the mold into the freezer for 20 minutes.
- While the hearts are chilling, melt the semisweet and milk chocolate bars. You can do this over a double boiler on the stove or in the microwave, stirring at 30 second intervals.8 ounces semi sweet chocolate, 4 ounces milk chocolate
- Set up a dipping station with the peanut butter hearts, melted chocolates, sprinkles and a baking sheet covered with parchment paper.
- Remove all the hearts from the mold and place on the baking sheet.
- Working one at a time, dip a heart into the melted chocolate, coating thoroughly. Use a chocolate dipping tool or fork to lift the hearts out of the chocolate and gently tap on the side of the bowl so the excess chocolate drips off.
- Place the coated heart back onto the parchment covered baking sheet and immediately top with sprinkles. Repeat with the remaining hearts.
- Place the baking sheet in the refrigerator for 15 minutes to allow the chocolate to set up.
Notes
- Use room temperature ingredients for easier mixing and a smoother filling.
- Work quickly when dipping, so the chocolate doesn’t harden.
- This recipe will make 15-20 hearts and varies based on the size of your heart molds.
- Store the hearts in an airtight container, placing parchment paper in between the layers. They’ll keep for up to a week on the counter, two weeks in the refrigerator or a month in the freezer.
Nutritional Estimate
Nutritional information is provided as a reference, using an online calculator. We recommend verifying the information independently for accuracy.