
Disclosure: This post may contain affiliate links. Please read my Disclosure page for more information.
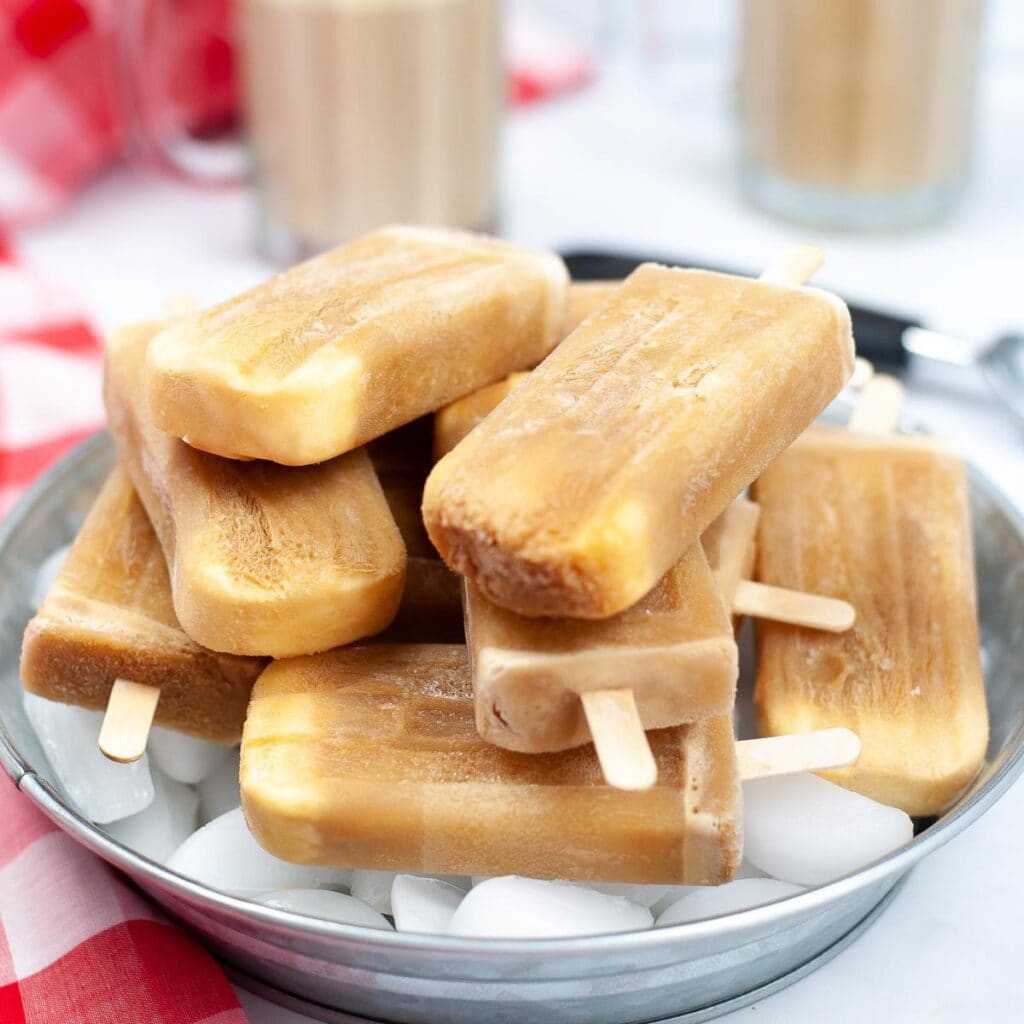
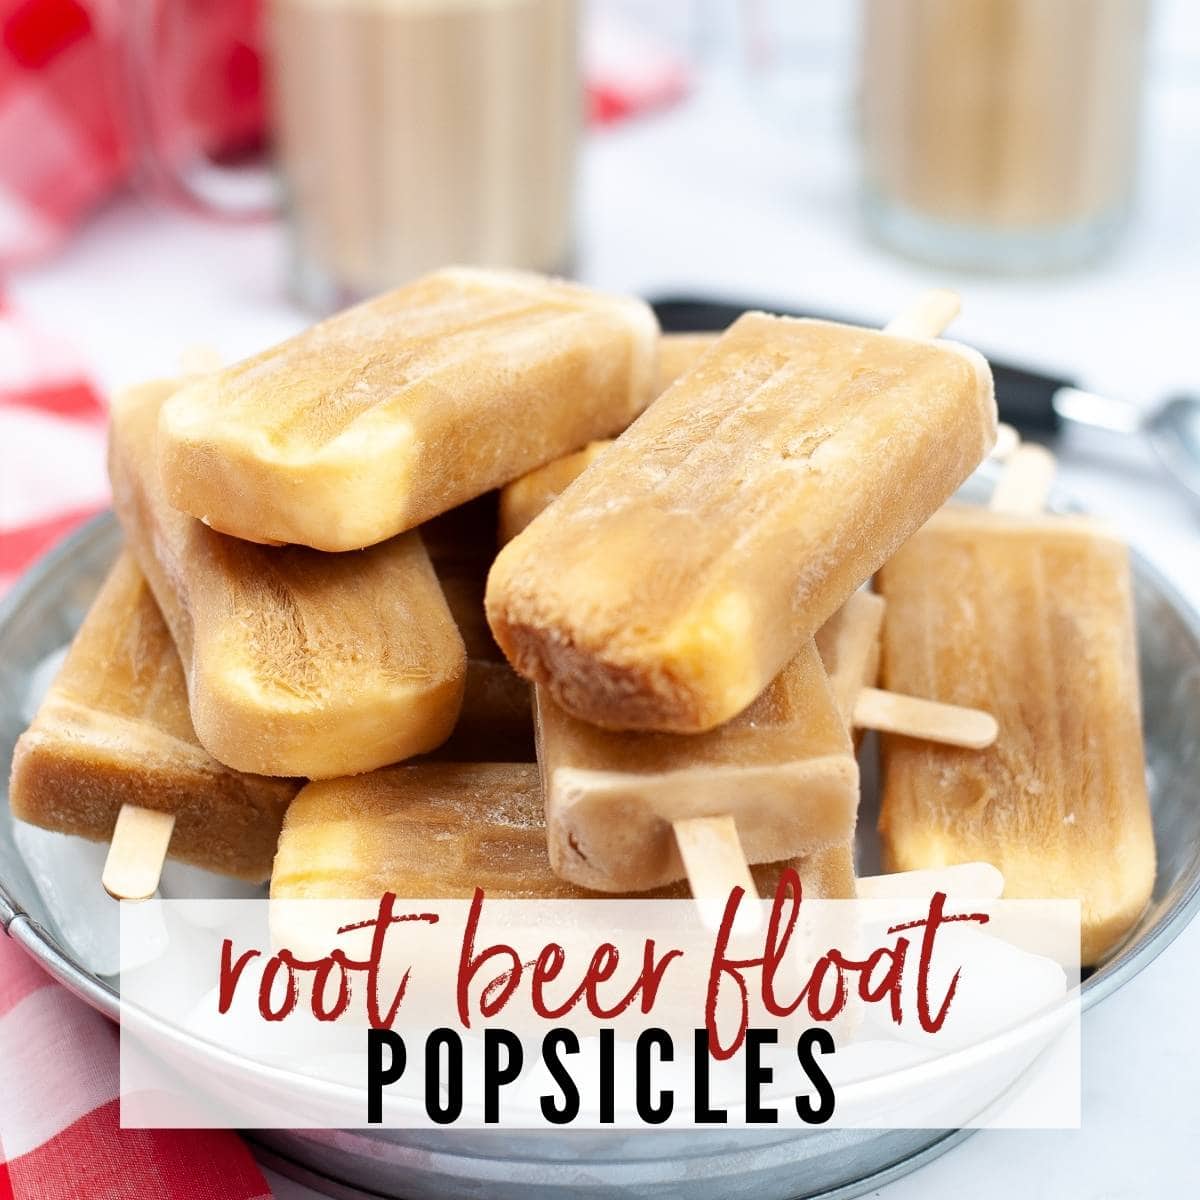
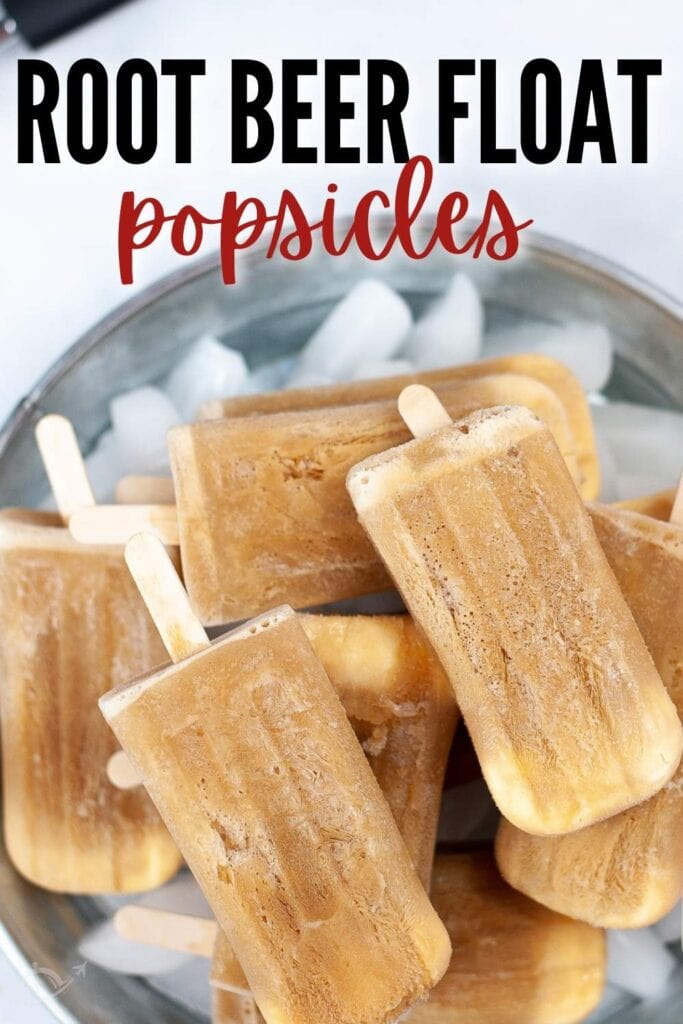
Take a trip back to the good old days with these Root Beer Float Popsicles. But the best part is you only need 2 ingredients to make these refreshing summer treats!
When I think of root beer floats, my mind goes back to the days when you could find these in every neighborhood diner.
As a child these were special. We didn’t get treats from restaurants very often, so when we did, boy was it a good day!
We’re sharing tips to help you get the best results with this recipe. If you don’t need the tips, scroll to the bottom for the full recipe and a printable recipe card.
Today there aren’t many places that have the classic rootbeer float on the menu. So I decided to turn the classic root beer float into a popsicle. These are actually way easier to make, less messy, and you can eat them with one hand, making them perfect for parties.
On a side note, if you love popsicles be sure to check out these family favorite summer treats – dragon fruit popsicles and banana pudding pops. We also love a good orange float as an after dinner treat.
What You Need to Make Root Beer Float Popsicles
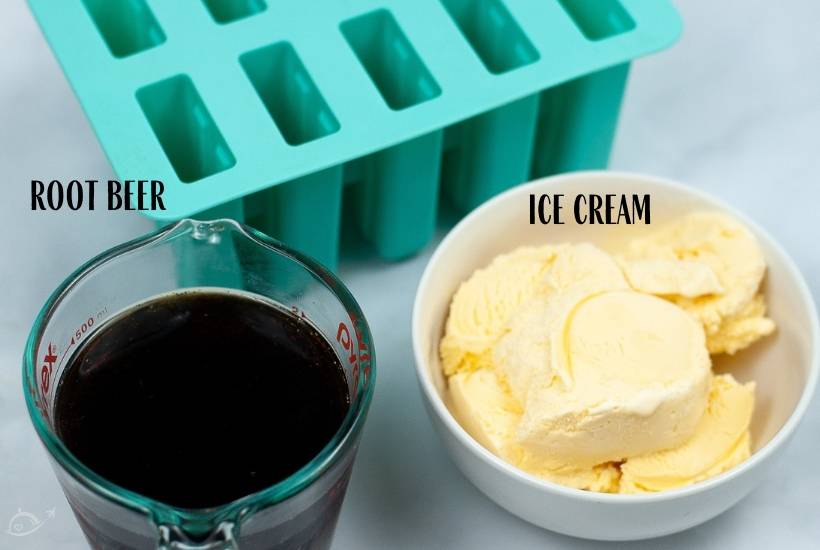
Popsicle Ingredients
You’ll need just two simple ingredients to make this recipe:
- Root beer – you’ll have best results if it’s a little flat. I’m partial to A&W and Barq’s brands.
- Vanilla ice cream – I like to use an “old fashioned” style ice cream, but you can use whatever you have on hand.
Kitchen Gadgets Needed
- Popsicle molds
- Popsicle sticks (if your molds don’t come with them)
Get the complete ingredients & directions in the recipe card below.
How To Make Homemade Root Beer Float Popsicles
Add your ice cream to a microwave safe bowl, and microwave for 45-60 seconds. You want the ice cream to melt slightly but to still be cold. Then stir until it’s smooth and without lumps.
Pour the ice cream into each mold, dividing equally.
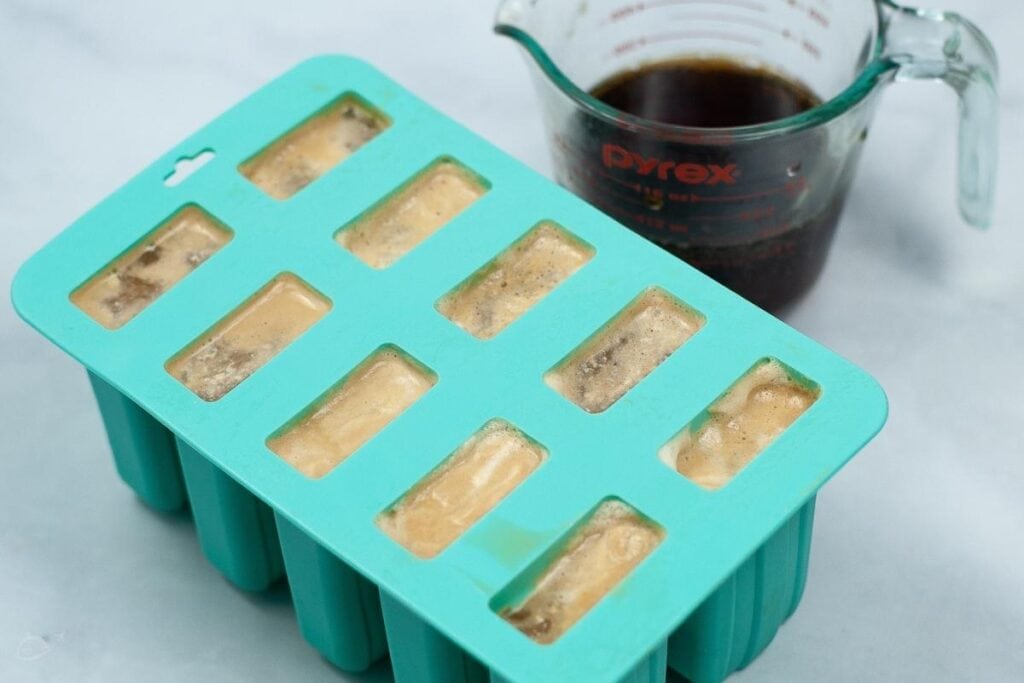
Next start pouring the root beer slowly into the molds, so it doesn’t fizz up too much. If you find that the fizz is taking over the mold, use a spoon to scoop it out and continue filling.
Note: flat soda is easier to work with – pour the soda into your measuring cup and allow it to sit out for 60 minutes if you have time.
Once all of the molds are full, place in the freezer for at least 4-6 hours, or until frozen through. If you find that your sticks don’t want to stand up, I freeze the molds for about an hour before adding the sticks.
That’s it – super easy! Now whip up a batch of these classic popsicles.
Tips for Making Popsicles with Root Beer
- Make sure your root beer is flat to reduce foaming when pouring into the popsicle molds.
- Tap the mold gently on the counter to remove any air bubbles before freezing.
Recipe Substitutions and Variations
- Switch things up and use a different soda like Coke, Dr. Pepper or Orange Crush.
- Get creative with different ice cream flavors.
- If you like a little texture in your popsicles, mix in crushed cookies or mini chocolate chips before freezing.
- If you don’t have popsicle molds you can use plastic cups in a pinch. Cover the top of the cups with foil to hold the sticks in place.
How To Make Popsicles in Big Batches
If you find yourself needing a lot of these (like for a party) and need to have them ready to go, you can place them in individual ice pop bags. Just seal the bags and store in the freezer until you’re ready to serve. Making them ahead of time is the best way to go when you need to feed a crowd.
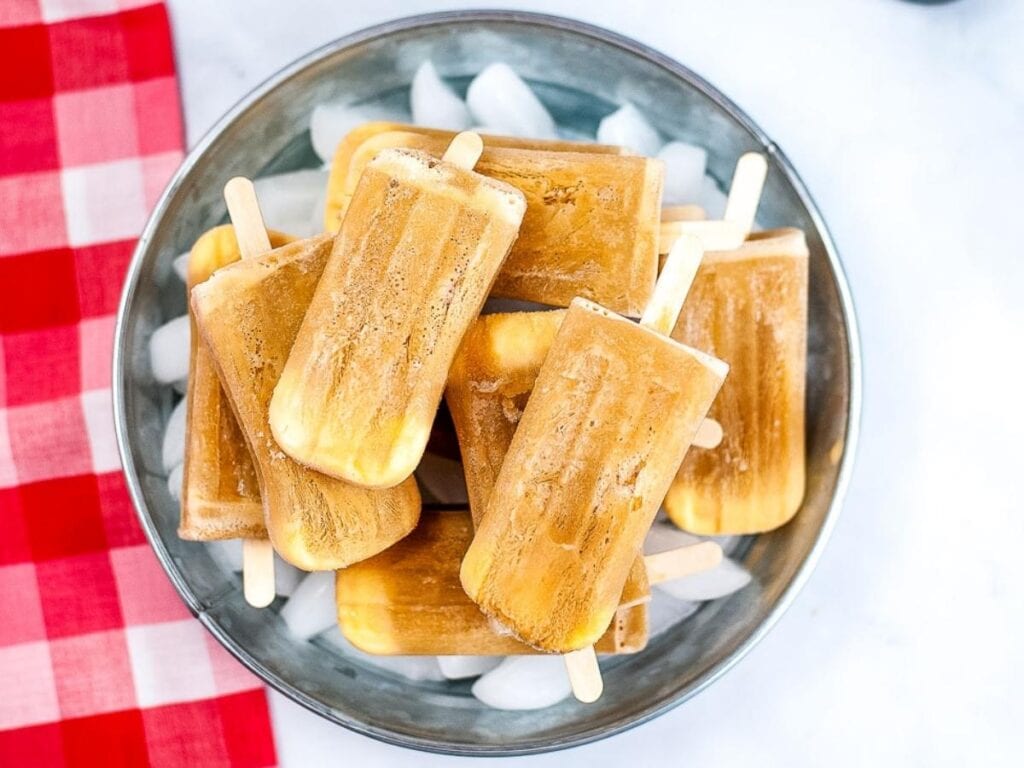
How to Store Old Fashioned Root Beer Float Popsicles
After the pops have frozen solid, remove them from the molds and wrap individually with plastic wrap. Store the wrapped pops in a freezer bag or airtight container for up to 4 weeks (but they won’t last that long – trust me!).
These nostalgic summer treats are sure to become a family favorite. So what are you waiting for? Go whip up a batch of these nostalgic summer treats stat!
More Refreshing Recipes You Have To Try:
- Homemade Orange Julius Recipe (Secret Ingredient)
- No Bake Lemonade Pie Recipe
- No Churn Ice Cream Recipes
Enter your email & I’ll send it to your inbox. Plus, get great new recipes from me every week!

Root Beer Float Popsicles
Equipment
Ingredients
- 2 1/2 cups vanilla ice cream
- 4 cups root beer
Instructions
- Place ice cream in a microwave safe bowl and microwave for 45-60 seconds, to slightly melt the ice cream (ice cream should still be cold). Stir to smooth out any lumps.
- Add ice cream to popsicle molds, dividing equally.
- Add root beer to popsicle molds, pouring slowly to minimize fizzing. Remove fizz with a spoon as needed. Repeat until the molds are filled.
- Add sticks and place molds in the freezer for about 4-6 hours, until frozen through.
Notes
- It’s easier to work with root beer that has gone flat. If you have time, allow the root beer to sit on the counter for about an hour before making the popsicles.
- If your mold doesn’t come with sticks you can use popsicle sticks. Freeze the popsicles for about an hour, then insert the sticks. This will help the sticks stay in place.
- The number of popsicles will vary based on your mold size.
- To remove popsicles from molds, run warm water over the outside of the mold for 10-15 seconds.
- Serve over ice to prevent/slow melting.
- If you want to make a large batch or prepare for a party, transfer frozen popsicles to popsicle bags and store in the freezer.
Nutritional Estimate
Nutritional information is provided as a reference, using an online calculator. We recommend verifying the information independently for accuracy.